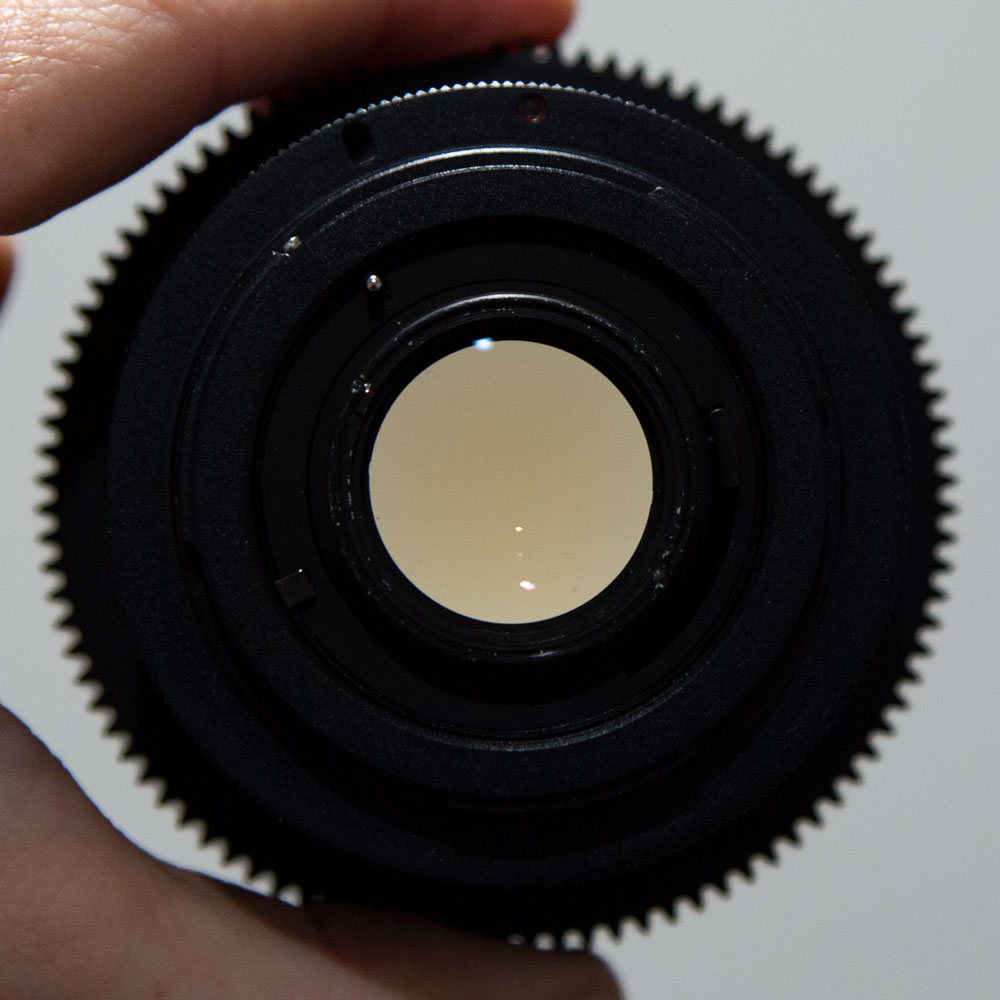
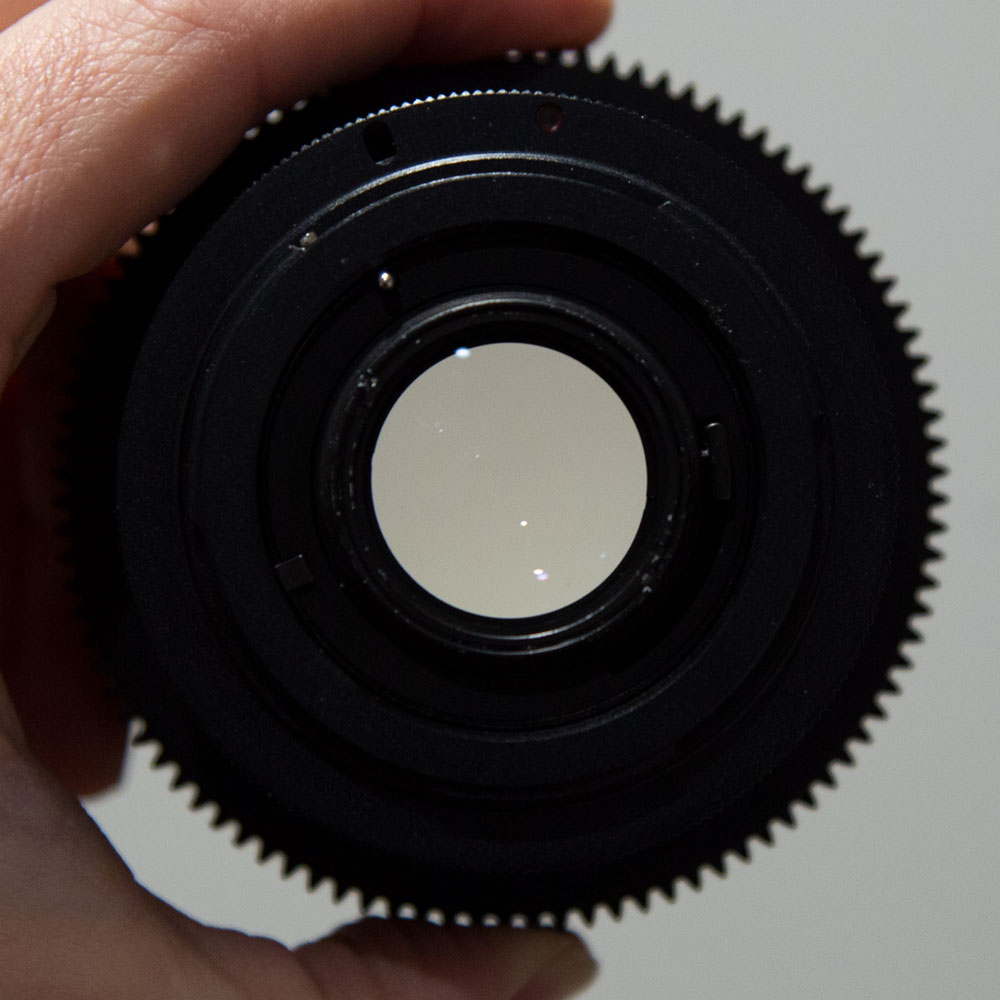
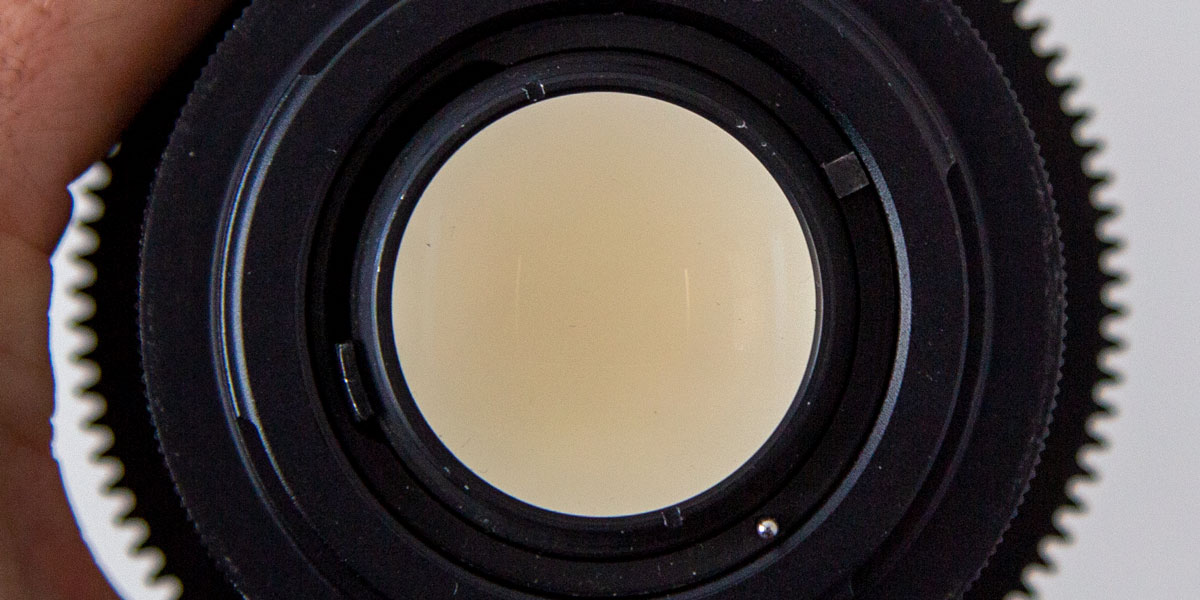
In the past, in the era where the lenses we now call vintage, were in fact new; an oxide was added to the lens element in the manufacturing process. This was Thorium oxide, and when used as part of the glass manufacturing process it improves the lenses refractive index and decreases dispersion.
Thorium dioxide is a mildly radioactive material, and the general consensus is that the health risks from lenses with thorium elements are minimal. However, one very real consequence to this element being part of the glass is that over time the glass yellows and gets a very noticeable brown tint to it.
Thankfully the fix does not cost a lot of money, but it can be a considerable investment of time to correct. To correct Thorium yellowing/browning the lens must be exposed to ultraviolet light.
UV light exists on a wavelength, as does all light. In the interests of safety and cost, getting an inexpensive UV light that emits in the 365nm to 395nm range is what we are looking for.
Thorium yellowing can be cured with sunlight, however it takes a long time and can cause other issues with your lenses due to the amount of heat that they are exposed to.
Required Equipment
- LED UV Light
- Mirror
- Something to create an enclosure
- A Thorium Yellowed Lens (or lenses)
- Something to take before and after shots with!
Step One
Get a UV light.
I purchased a 50w UV LED floodlight from Aliexpress. Below is a non-affiliate link. The shipping took a couple of weeks from China to New Zealand.
Step Two
Create an enclosure.
Anything to create an enclosed space for the lamp to sit on and shine UV light into. This can be a cardboard box with a hole in the top, a purpose built enclosure or some hybrid enclosure from bits and pieces.
Just make sure your enclosure is big enough for the mirror at the bottom and tall enough for your lens to sit in comfortably.
Step Three
Remove all lens caps from your lens, place it front element down on the mirror, then place the lens and mirror under the lamp with the rear element as close to the LED lamp as possible. The mirror and lens apparatus may need to be propped up on something to bring it all close together.
Step Four (optional)
While entirely optional, it is worth taking a controlled before shot of your lens, and with your lens. Being able to see the difference your hard work has made is always nice, being able to measure it is fantastic.
Step Five
Switch the power on.
Periodically check the lens for warmth/heat. Probably every 3-5 hours initially, however once you’re comfortable with how things are progressing you can leave the lens for longer – leaving them for an overnight tanning session is totally fine if you’re comfortable with the temperature levels and overall progress. If you’re not, there’s no harm in turning it off and letting it cool off and starting again the following morning.
While not strictly necessary, due to the mirror being in place, you can flip the lens over and blast it from the other direction if you want to.
Step Six
If you completed step four, then it’s time to take an after shot of your lens and through your lens.
Here’s what 23 hours under UV light did for our Pentax SMC 50mm f1.4.
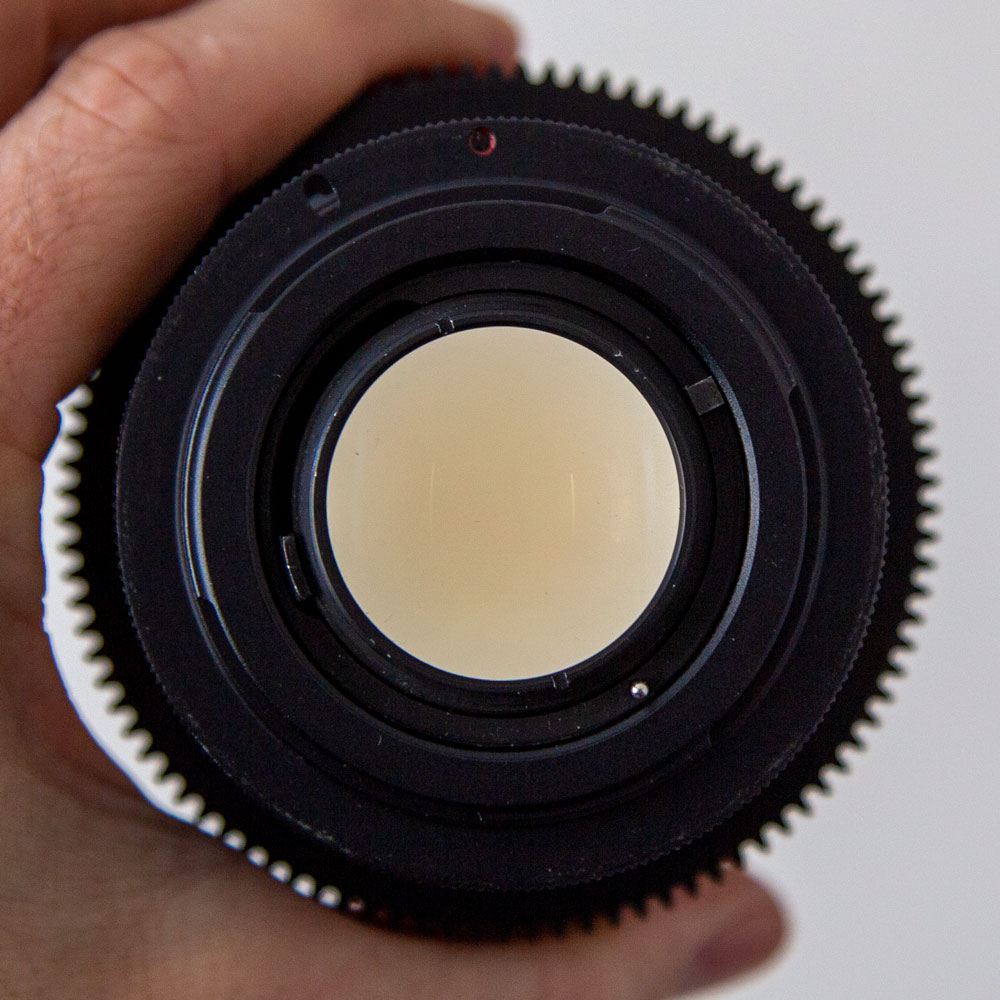
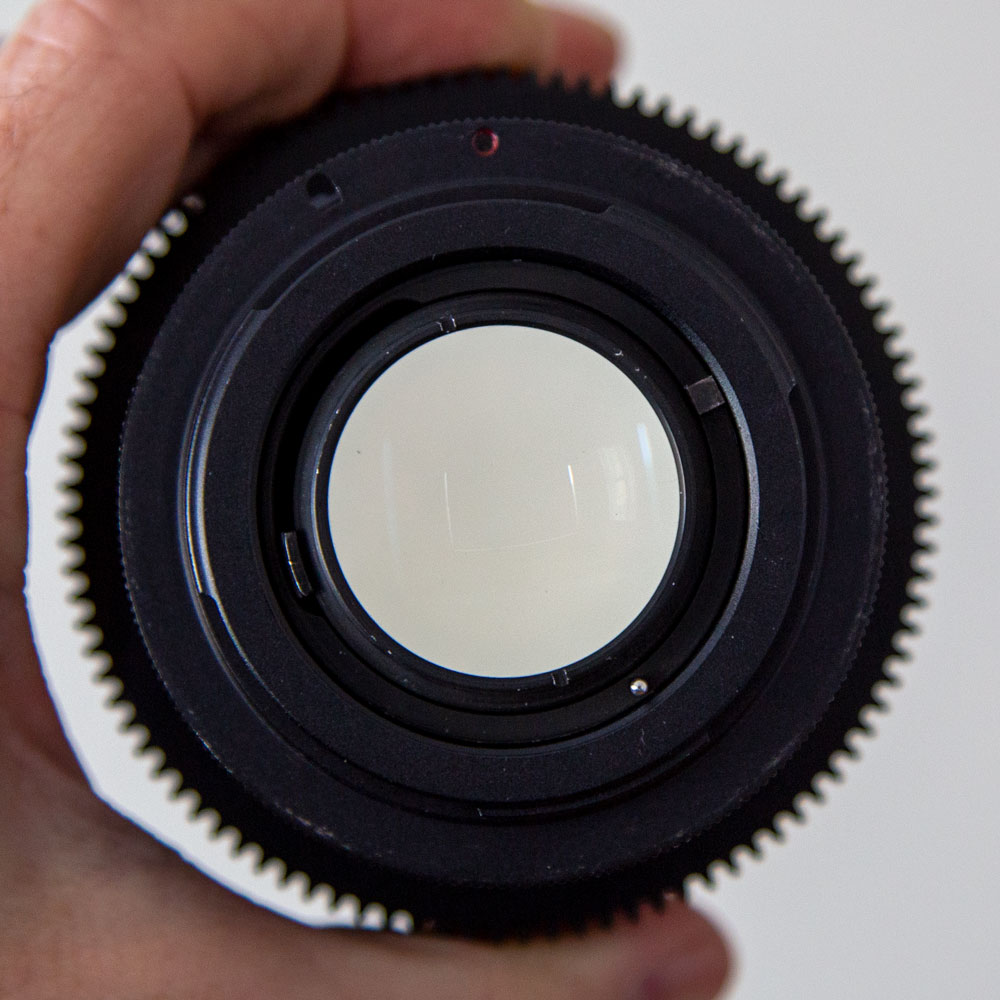
Here’s what 24 hours under UV light did for our Pentax SMC 35mm f2.0.
